Making the Spillguard optic
The first baffle worked perfectly. It worked in the simulation, it worked on the bench, and it produced a distribution so clean we photographed the plot and sent it to each other on a Sunday.
Then we put it in a room and it drew a bright ring on the wall about a meter above the desk. Not a glow — a ring, with an edge on it, of exactly the light we had spent eight months removing.
Why the model was right and the room was wrong
The simulation assumed a matte wall. Every simulation does, unless you tell it otherwise, and we had not told it otherwise because it had not occurred to either of us that it mattered.
Real walls are not matte. Domestic emulsion has a sheen — even the finishes sold as flat have some — and a sheen returns light at an angle instead of scattering it. The beam we had carefully absorbed at the baffle was fine. The problem was the small amount that got past it, hit the wall at a shallow angle, and came back at the room as a specular reflection instead of dying quietly in the paint.
We had built an optic for a physics problem and installed it in a decorating problem.
The eleven tools
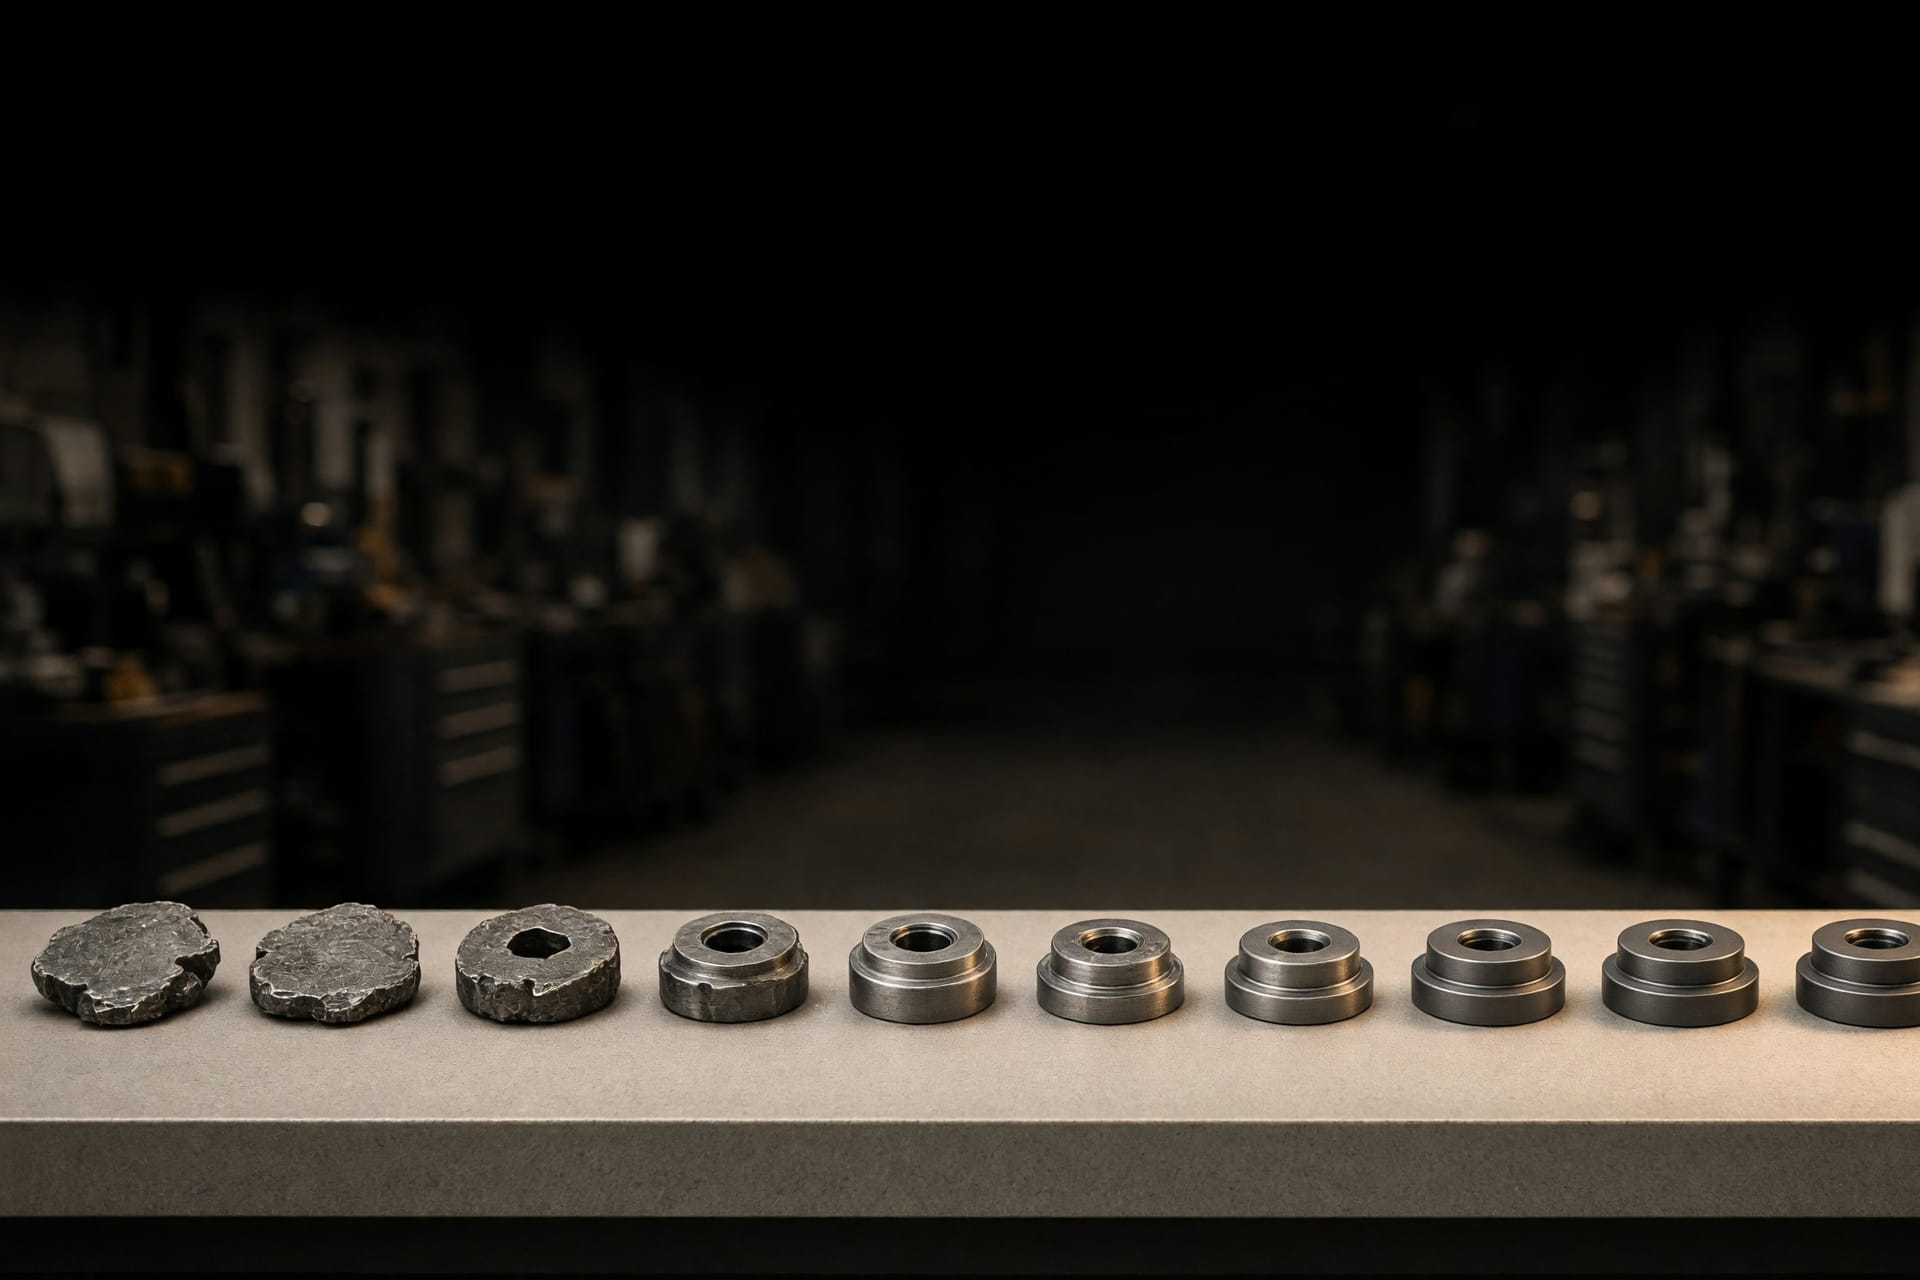
Tool one was aluminum, hand-turned, and taught us the geometry was roughly right.
Tools two through four were variations on a cone angle, and the interesting thing about them is that they made no measurable difference at all. Three iterations, six weeks, and a plot you could lay on top of the previous plot. That period is not visible in the photograph and it is most of what the four years actually consisted of.
Tool five was the expensive mistake. We had convinced ourselves the answer was a compound curve, which cannot be turned and has to be cut on a five-axis machine, and we ordered it from a shop in Kortrijk without prototyping the geometry in resin first. €11,400. It arrived, it went into a lamp, and it was very slightly worse than tool four. The compound curve was doing something real — it just was not doing the thing we needed, and a €200 resin print would have told us so in a week.
Tools six through nine went back to a straight cone and started working on the edge instead of the surface, which turned out to be where the problem had been living the whole time. Tool ten was tool nine with a chamfer. Tool eleven is what ships.
What it actually is
A machined ring, 3 mm thick, sitting 14 mm inside the head, with a 3° undercut on its inner edge and a bead-blasted matte finish on the surface facing the emitter.
That is the whole thing. It is not clever. It is a piece of aluminum in the way of some light, in precisely the right place, with an edge angle that stops the ring itself becoming a secondary source — which is what tools one through five were all quietly doing.
The part that is still wrong
High-gloss paint still defeats it.
If your wall is a proper gloss or a lacquer, you will get a soft return above the desk, and the baffle cannot help you because the wall is now a mirror and the problem is no longer inside the lamp. We know of no fix that does not involve making the beam narrower than the desk, which trades a real problem for a worse one.
So: eleven tools, four years, and one wall finish that beats it. We would rather say that here than have you find it yourself.